Creating Your Own Stamp
When I started my business, I wanted to personalise my packaging, letters and even linocuts with a stamp bearing my logos. Rather than buying a stamp online (which can run to several hundred euros), I set out to make stamps on a budget. Here are the materials and methods I used.
Materials
Here’s what I used:
- a MILAN vinyl carving plate (~ €10)
- one or more carving gouges (€25–40)
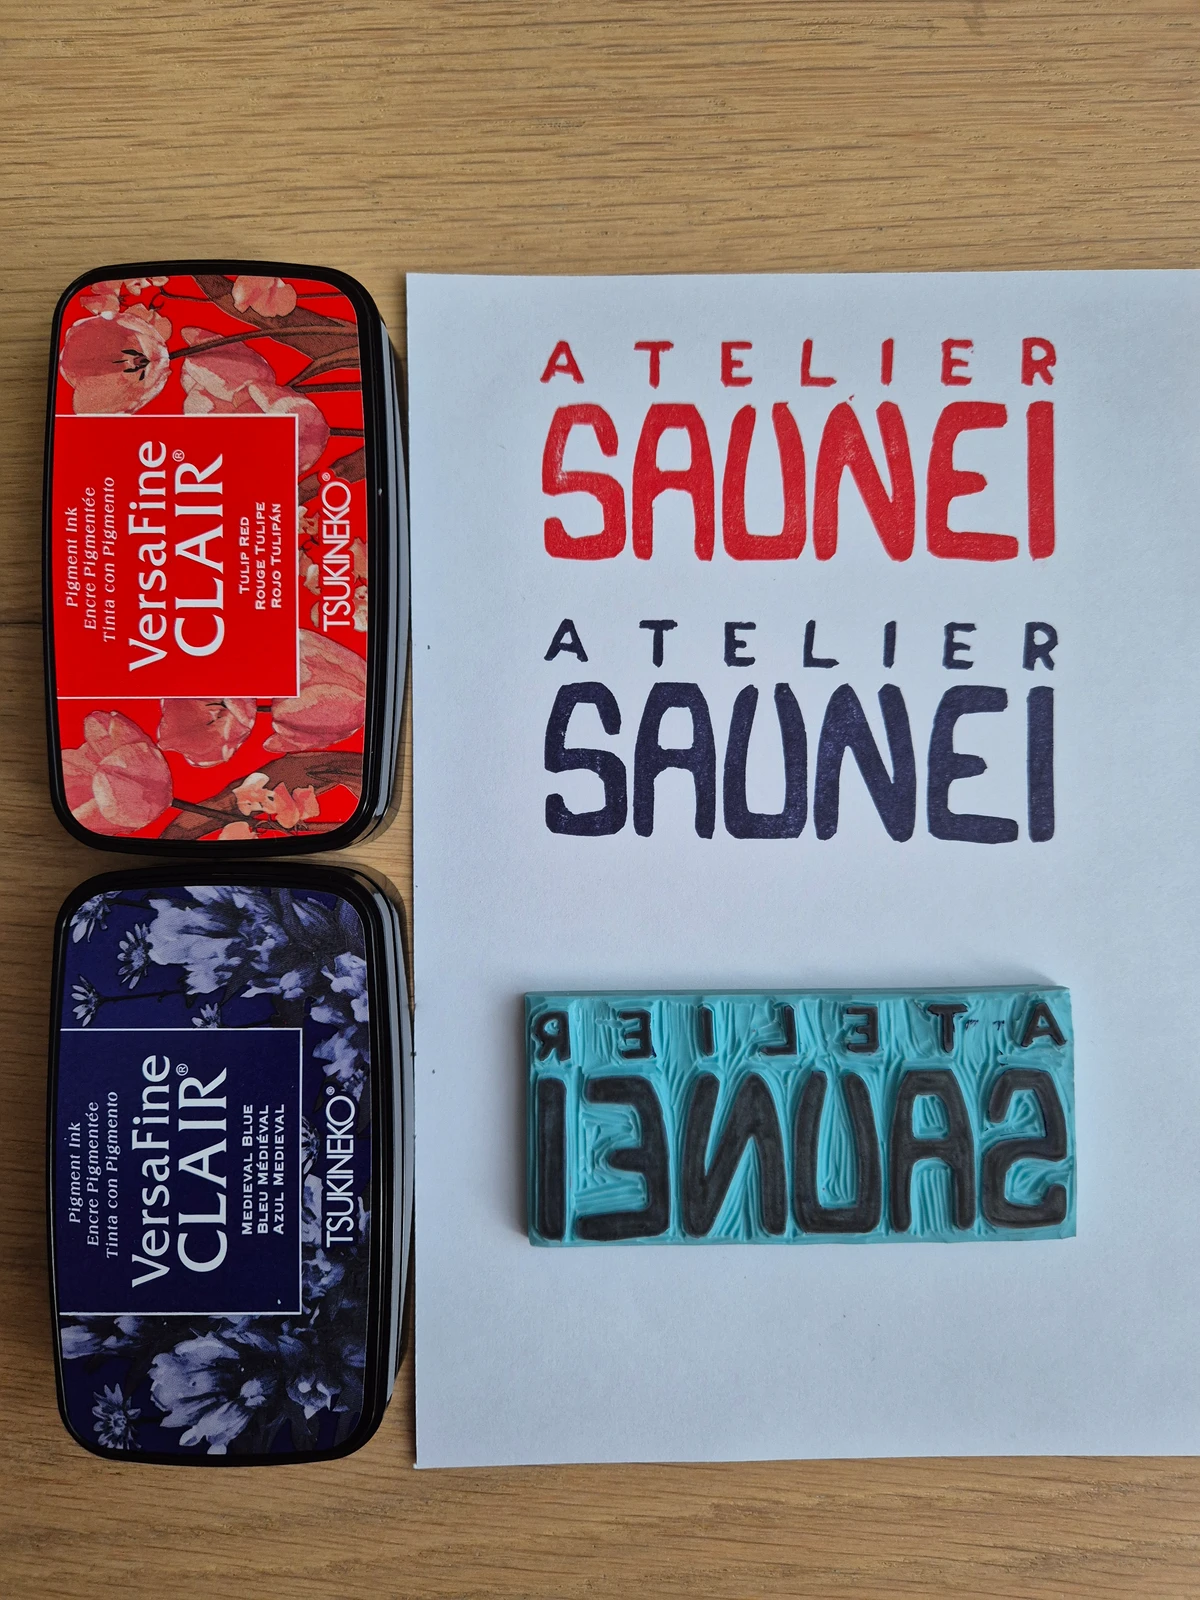
- a Tsukineko stamp pad – Versafine Clair (~ €10)
- a craft knife and cutting mat
- a ruler
- optional: tracing paper
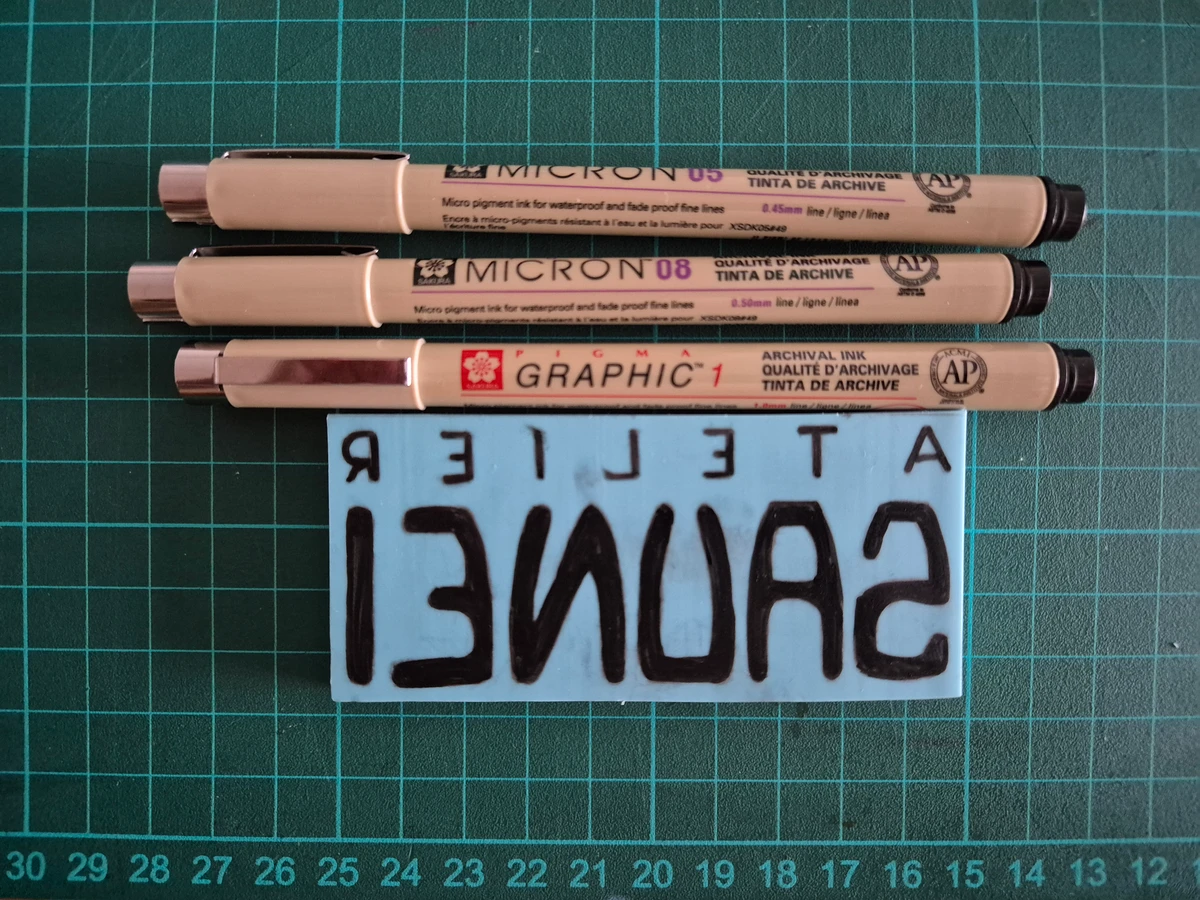
- optional: MICRON ink pens
- optional: plywood panel and glue
Note: you can use other matrices than vinyl. I came across a Reddit post testing different supports and, given the good coverage on MILAN, I went with that (and I’m not disappointed).
Steps
Cutting the vinyl
Vinyl is so soft that a craft knife and ruler are enough to cut it. Stand right above the plate to avoid cutting at an angle. I’d allow about 2 mm margin on the sides of your stamp. Don’t make the margin too large or you may ink outside your design.
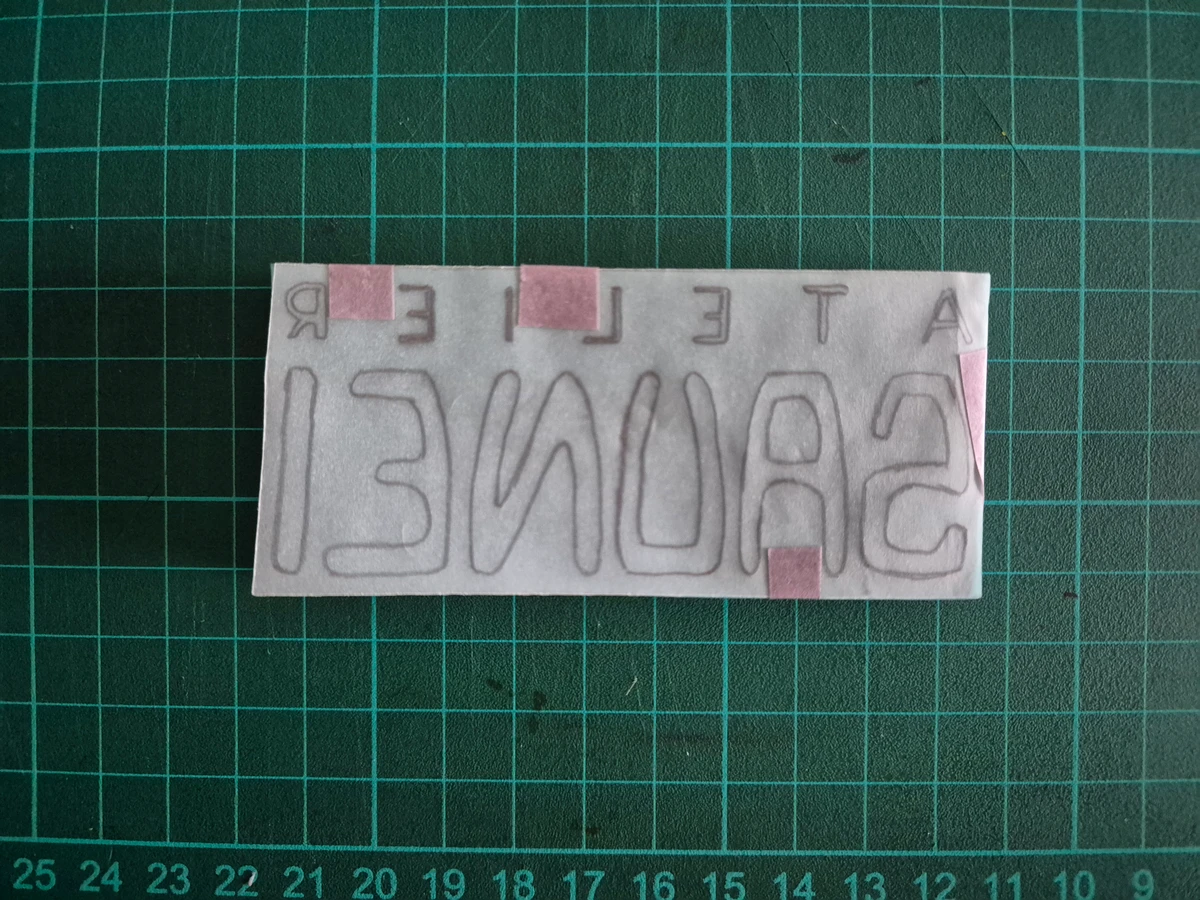
Transferring the design
For this step you can either draw directly on the carving plate or use tracing paper and a pencil from a drawn or printed design. Remember the design must be reversed so it prints the right way round ;)
Going over the pencil lines (optional)
This step is optional, but since graphite tends to smudge when you handle the plate during carving, I went over the lines with MICRONs. If you do this, blot excess ink at the end: vinyl doesn’t absorb it as well as lino and you might get it on your fingers while carving.
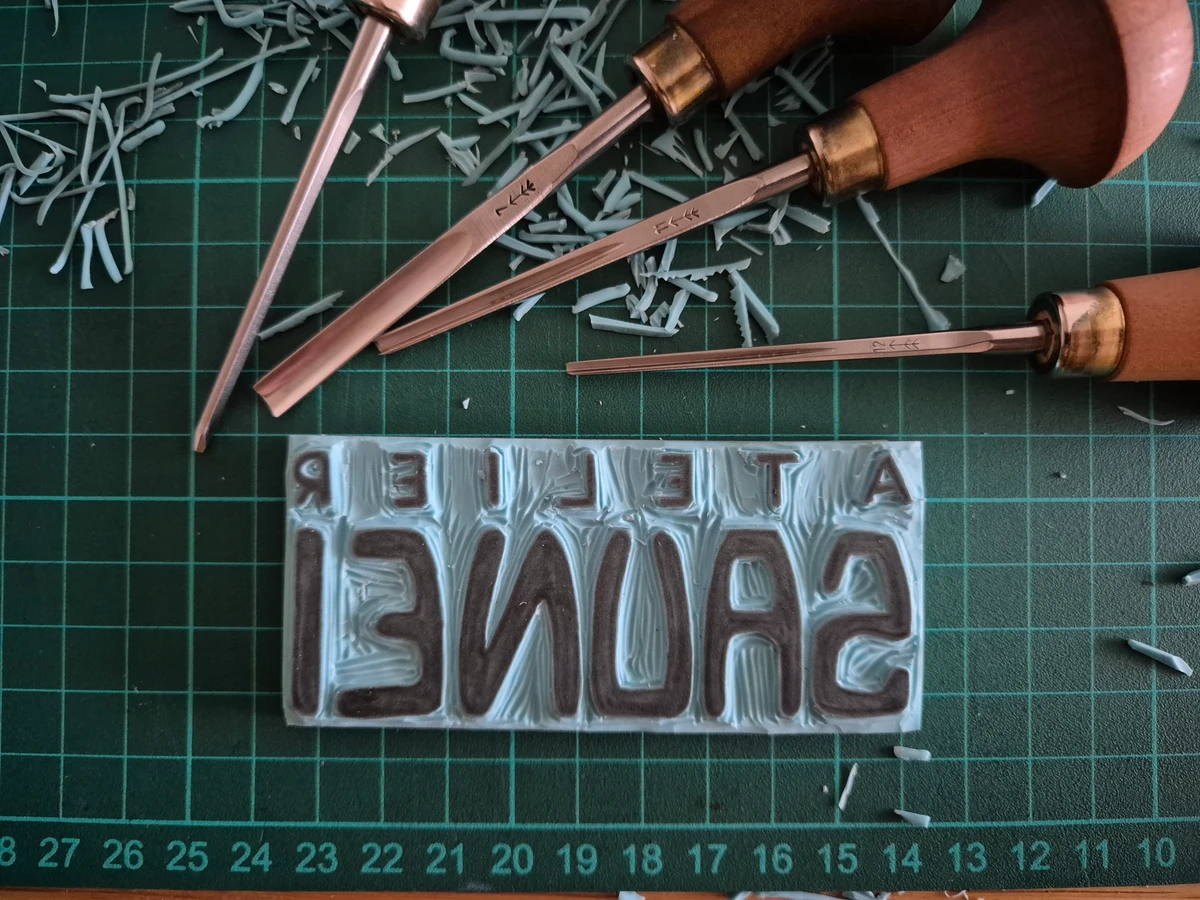
Carving
Time to carve; take your time on the finest details.
If you’re used to linocut… expect a surprise. The feel is very different from lino: vinyl is much softer and offers almost no resistance. Also, the technique of lifting the gouge to clear the waste doesn’t work here: you have to lift before the end of the cut. A bit disorienting at first, then you get used to it, and the whole thing takes much less effort.
Cleaning
Once carving is done, you can wash the matrix with soap so ink or graphite doesn’t end up on your final print.
Printing
Test prints
The final and most satisfying step: you finally see what the stamp looks like. If your stamp is small enough compared to the pad, you can stamp it straight onto the pad. If it’s larger, ink the pad onto the stamp. Try not to ink your fingers!
Once inked, test the stamp on paper by pressing gently in different spots. Lift the stamp straight up to avoid smudging and enjoy the result. This is when you’ll see if any areas need recarving. If so, go back and forth between carving and test prints until you’re happy.
Variations
For a grainier look, I stamp twice on the pad. For better coverage, three times. More than that and you risk overloading the stamp and pushing ink into the grooves, which gives a blurry print.
Bonus: mounting your stamp
For a better grip and to avoid printing your fingerprints, you can mount the stamp on a wooden block. I haven’t done this yet myself but I’ll update the post when I do.
Done
The stamp is finished :) The ink colours are really vivid and the design prints sharply. The ink is good quality and covers well.
Compared to a printer printout, I didn’t do too badly. The lines on the “ATELIER” lettering are coarser, but that doesn’t spoil the look: you’ve got to put your own touch in there.

I already had most of the gear; I only had to buy the vinyl and stamp pads, which came to under €30 for making several stamps. In short: low cost, low hassle, and a result you can reuse everywhere (packaging, mail, linocuts…). If you’re tempted, give it a go: vinyl is pleasant to carve and mistakes can be fixed or embraced :)
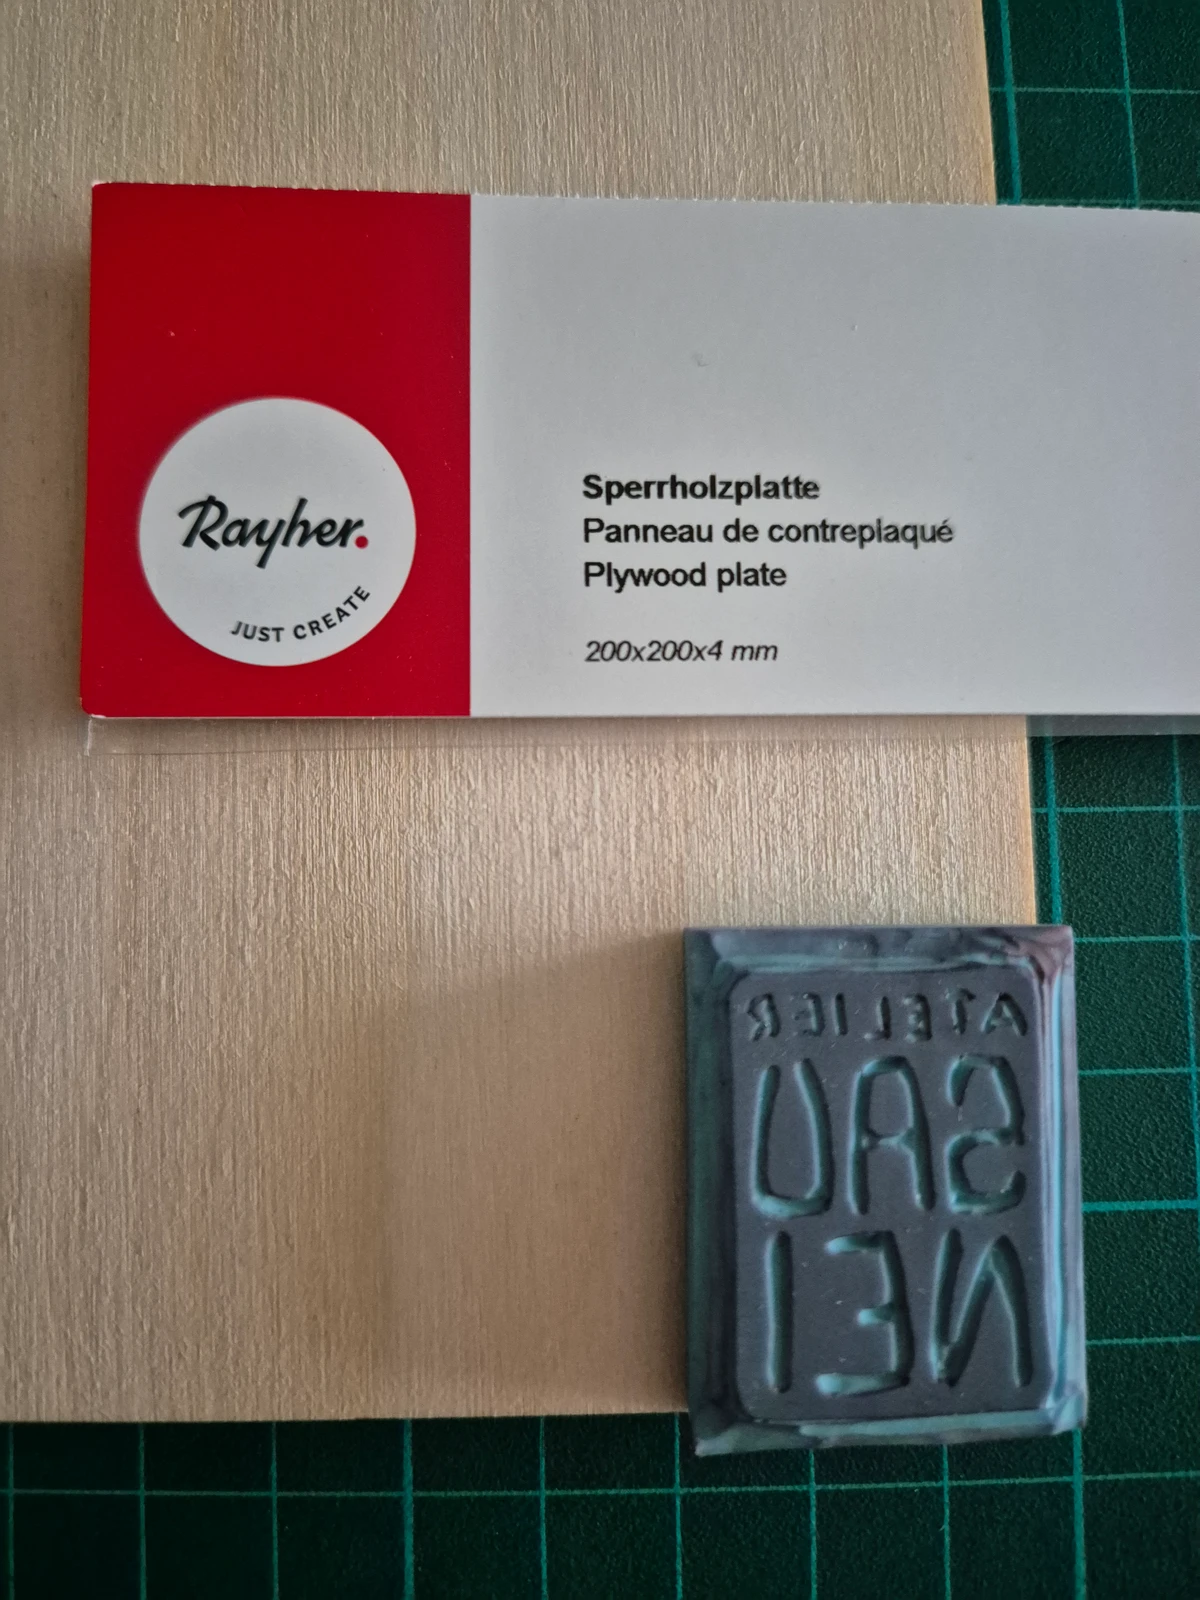
Edit (21.06.26): Here’s the follow-up on mounting the stamp onto a wooden block. Without a saw, I wanted something soft enough to cut with a craft knife. I found this 4 mm plywood panel (about €5 for a 20 × 20 cm sheet so I’ve got stock for plenty more stamps).
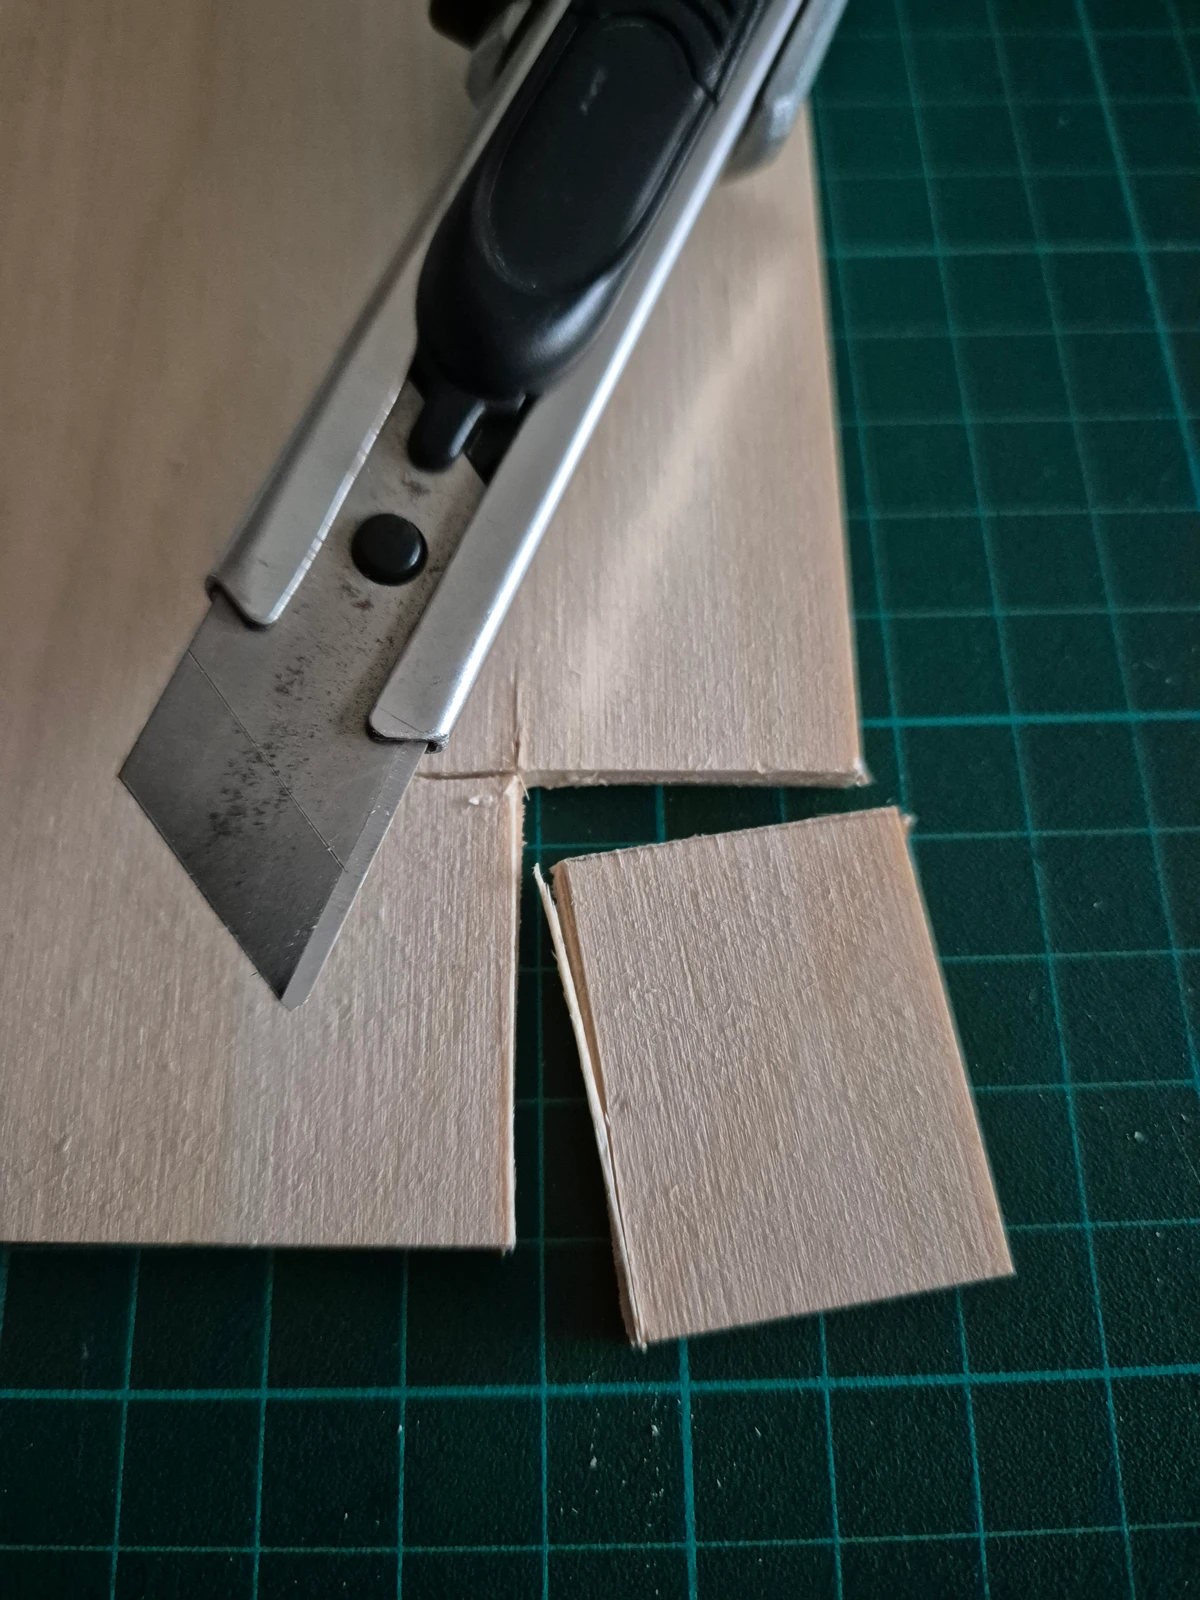
I wanted to start small so I grabbed a smaller stamp. Cutting wasn’t as straightforward as I’d imagined: many passes with the craft knife were needed, especially since my blades were very blunt, so I struggled more than I should have. Once that ordeal was over, all that’s left is to glue the vinyl stamp onto the wood. I used a craft/model-maker’s glue, solvent-free.

And here’s the final result on a small stamp! I’m really happy with it in daily use. I’ve been using it for several months on the small thank-you prints I include with orders and on the protective packaging for shipping.